Define an Empty Pipeline #
Now we are ready to define the basics of the pipeline.
Return to the file WorkshopPipelineStack.java and edit as follows:
package com.myorg;

import java.util.List;
import java.util.Map;

import software.constructs.Construct;
import software.amazon.awscdk.Stack;
import software.amazon.awscdk.StackProps;
import software.amazon.awscdk.pipelines.CodeBuildStep;
import software.amazon.awscdk.pipelines.CodePipeline;
import software.amazon.awscdk.pipelines.CodePipelineSource;

import software.amazon.awscdk.services.codecommit.Repository;

import software.amazon.awscdk.services.codepipeline.actions.CodeCommitSourceAction;

public class WorkshopPipelineStack extends Stack {
    public WorkshopPipelineStack(final Construct parent, final String id) {
        this(parent, id, null);
    }

    public WorkshopPipelineStack(final Construct parent, final String id, final StackProps props) {
        super(parent, id, props);

        // This creates a new CodeCommit repository called 'WorkshopRepo'
        final Repository repo = Repository.Builder.create(this, "WorkshopRepo")
            .repositoryName("WorkshopRepo")
            .build();

        // The basic pipeline declaration. This sets the initial structure
        // of our pipeline
        final CodePipeline pipeline = CodePipeline.Builder.create(this, "Pipeline")
                .pipelineName("WorkshopPipeline")
                .synth(CodeBuildStep.Builder.create("SynthStep")
                        .input(CodePipelineSource.codeCommit(repo, "main"))
                        .installCommands(List.of(
                                "npm install -g aws-cdk"   // Commands to run before build
                        ))
                        .commands(List.of(
                                "mvn package",            // Language-specific build commands
                                "npx cdk synth"           // Synth command (always same)
                        )).build())
                .build();
    }
}
Component Breakdown #
The above code does several things:
CodePipeline.Builder.create(...): This initializes the pipeline with the required values. This will serve as the base component moving forward. Every pipeline requires at bare minimum:synth(...): ThesynthActionof the pipeline will take the source artifact generated in by theinputand build the application based on thecommands. This is always followed bynpx cdk synth. Theinputof the synth step will check the designated repository for source code and generate an artifact.
Deploy Pipeline and See Result #
All that’s left to get our pipeline up and running is to commit our changes and run one last cdk deploy.
git commit -am "MESSAGE" && git push
mvn package
npx cdk deploy
CdkPipelines auto-update for each commit in a source repo, so this is the last time we will need to execute this command!
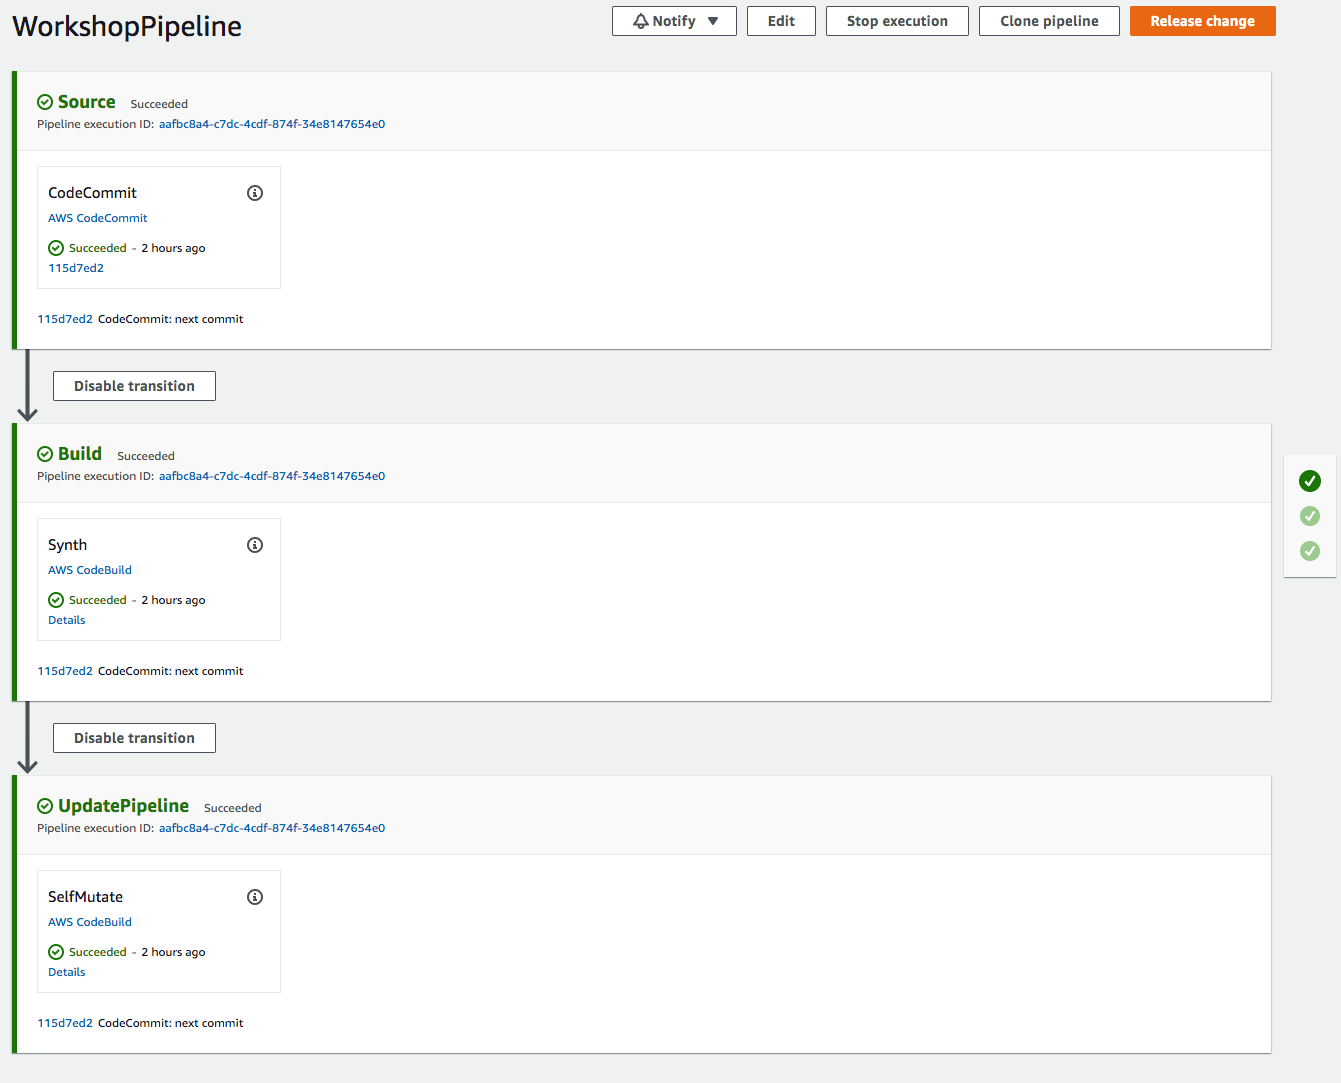
Once deployment is finished, you can go to the CodePipeline console and you will see a new pipeline! If you navigate to it, it should look like this: